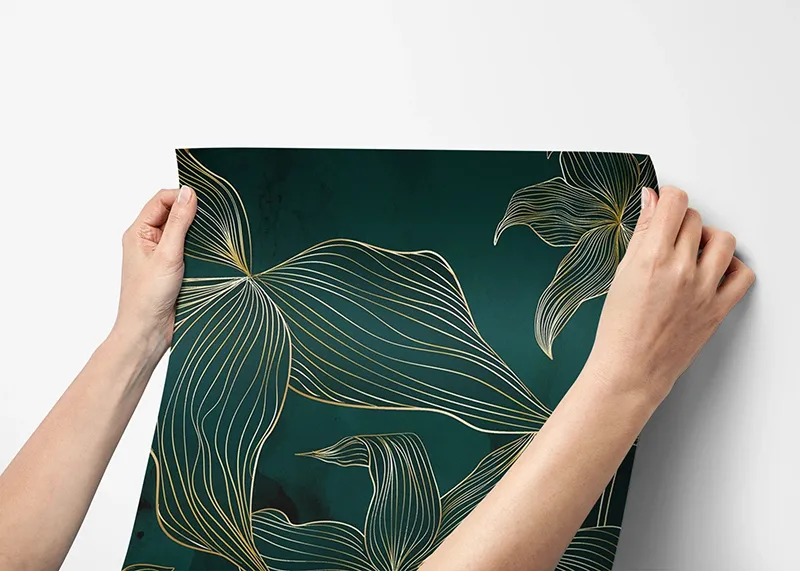
A photo wallpaper is a fantastic way to transform any interior and bring a touch of art and personality into your space. Whether you're installing traditional or self-adhesive wallpaper, following the correct steps will ensure a smooth installation and great results. Below, we've prepared a guide to walk you through the successful installation process.
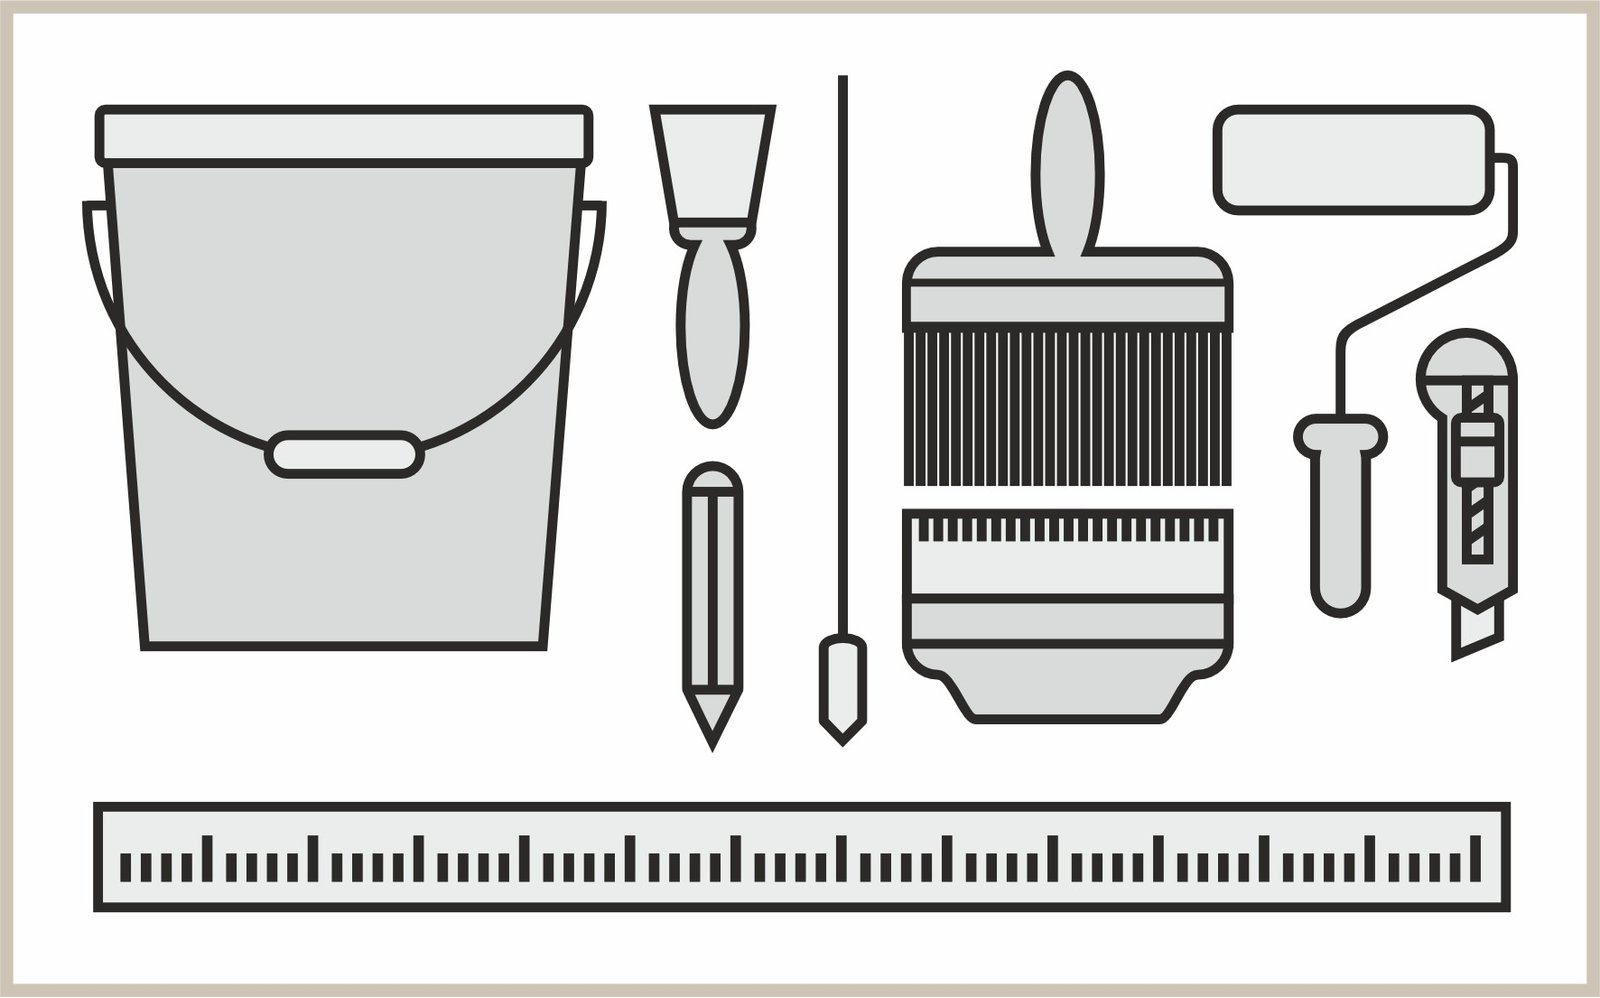
Materials Needed:
Wallpaper
Measuring tape
Pencil
Plumb line
Utility knife
Long ruler
Painter's tape
Smoothing tool or squeegee
Sponge and bucket (for traditional wallpaper)
Wallpaper adhesive – Included for free in the package
Clean cloth
Preparation
Before you start transforming your interior, you need to prepare the surface and mix the adhesive.
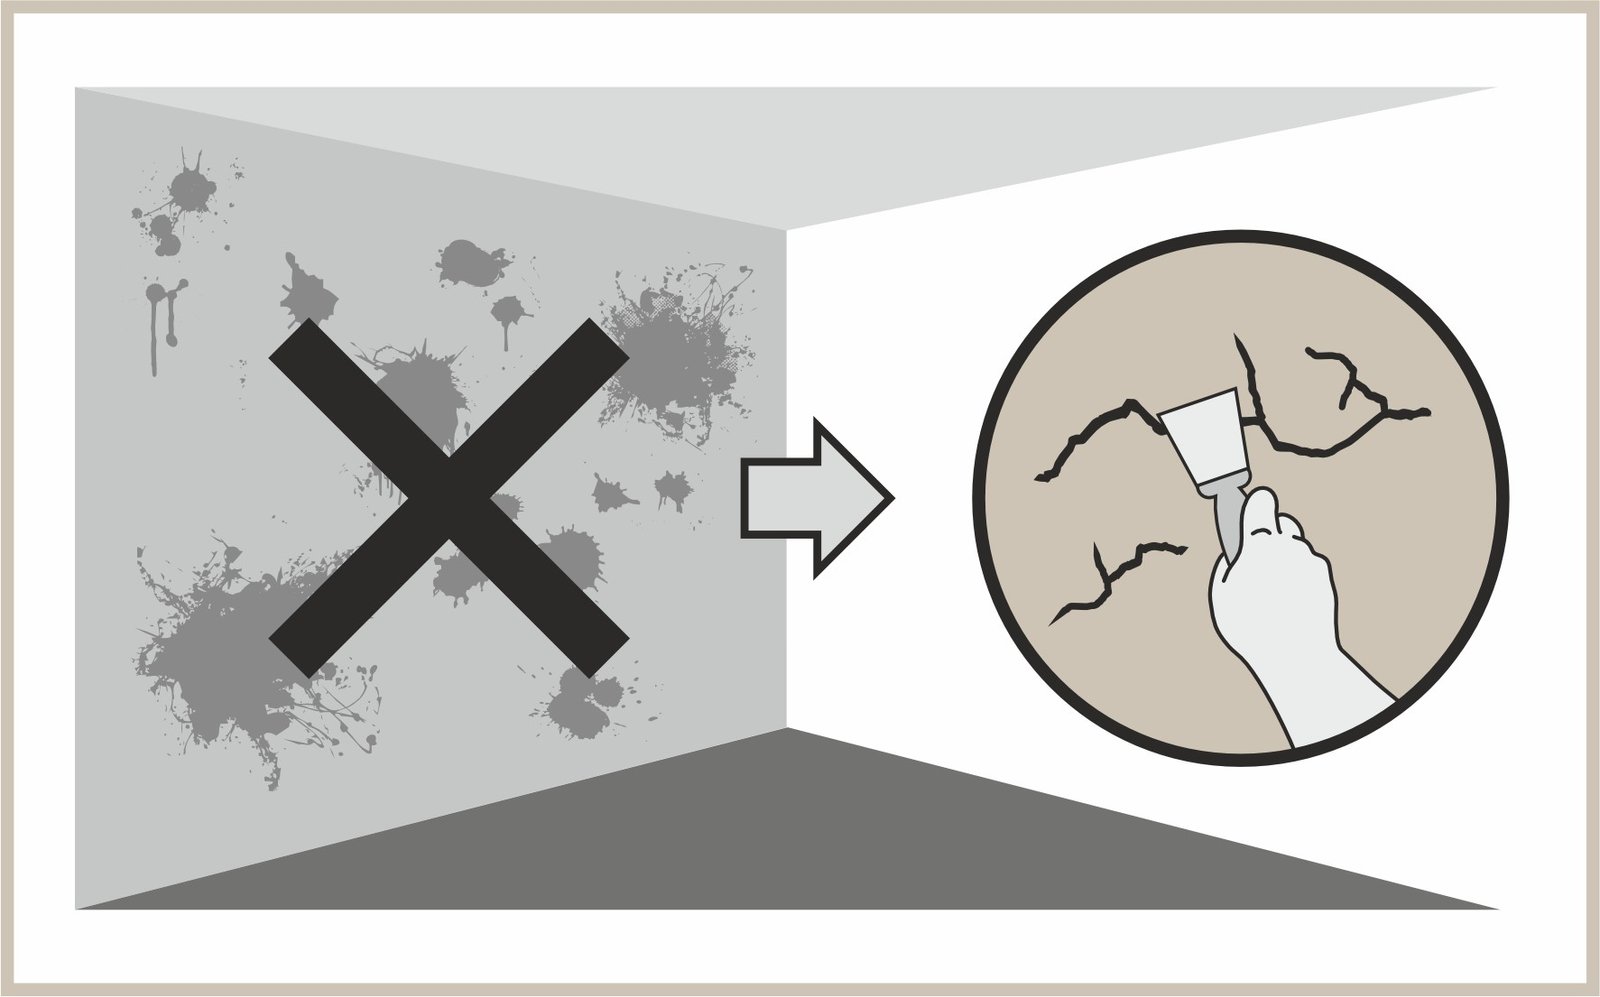
1. Ensure the surface is smooth, even, and clean
Select a suitable wall for your photo wallpaper. The best surfaces are smooth, even, dry, and clean. Avoid textured walls, as they may cause adhesion problems. Remove any grease, fill in any cracks, and smooth out rough areas. Old wallpaper and oil-based paints must be thoroughly removed. Drywall, absorbent surfaces, and fresh plaster must first be primed to achieve an even surface. Otherwise, the wallpaper adhesive may dry too quickly, and the non-woven wallpaper may not stick properly.
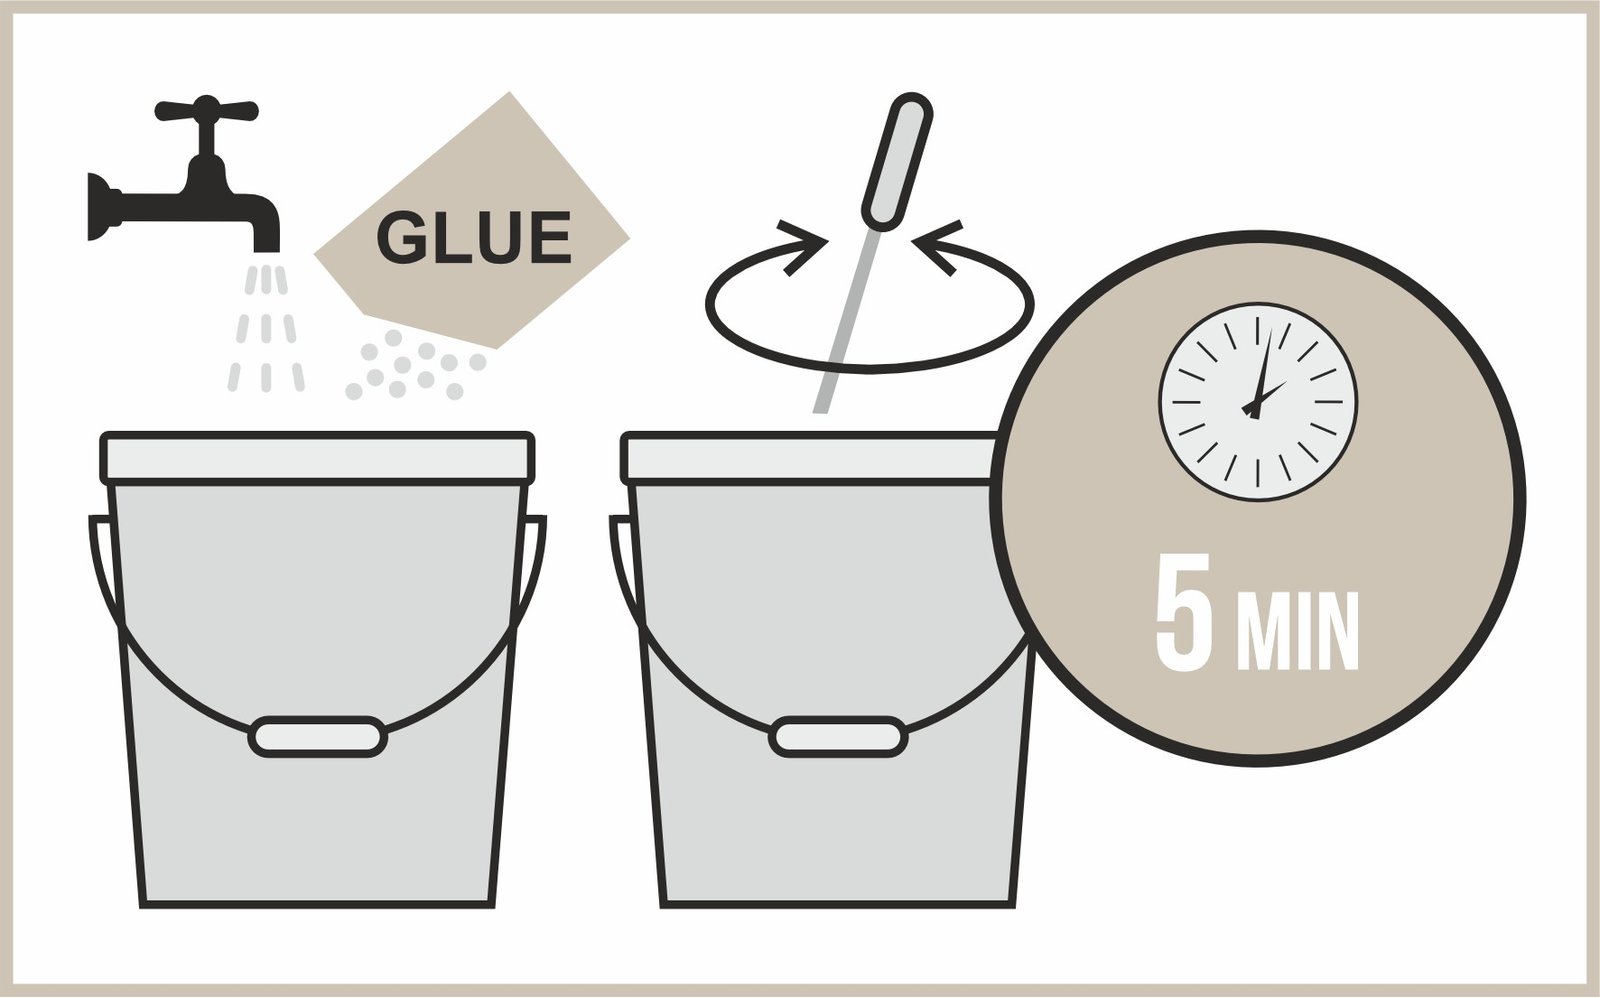
2. Prepare the adhesive
We provide the necessary adhesive for free with our wallpapers, which can be found inside the packaging. Follow the adhesive-to-water ratio specified on the package. Fill a prepared bucket with water and slowly add the powdered adhesive while stirring rapidly. Mix until a smooth consistency is achieved, then let it sit for 5 minutes to thicken. Stir again before use. The adhesive is now ready for application.
Installation
1. Separating the panels
Before starting, divide the wallpaper into individual panels. Use a utility knife and ruler to cut along the perforated lines.
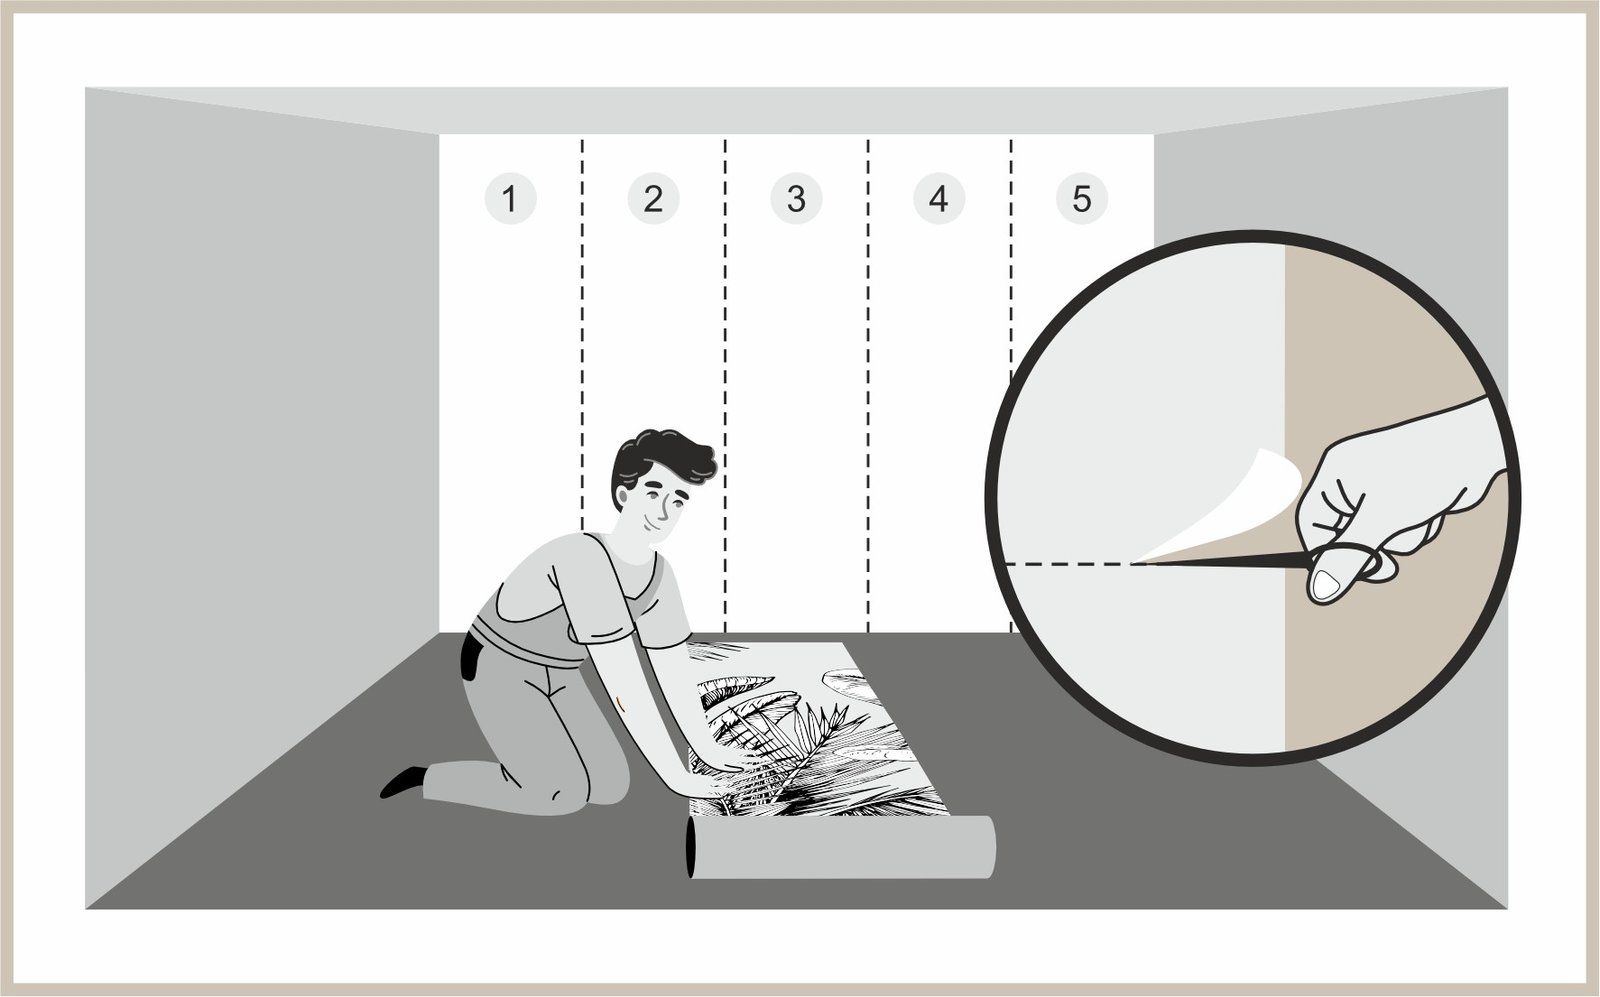
2. Check the wallpaper
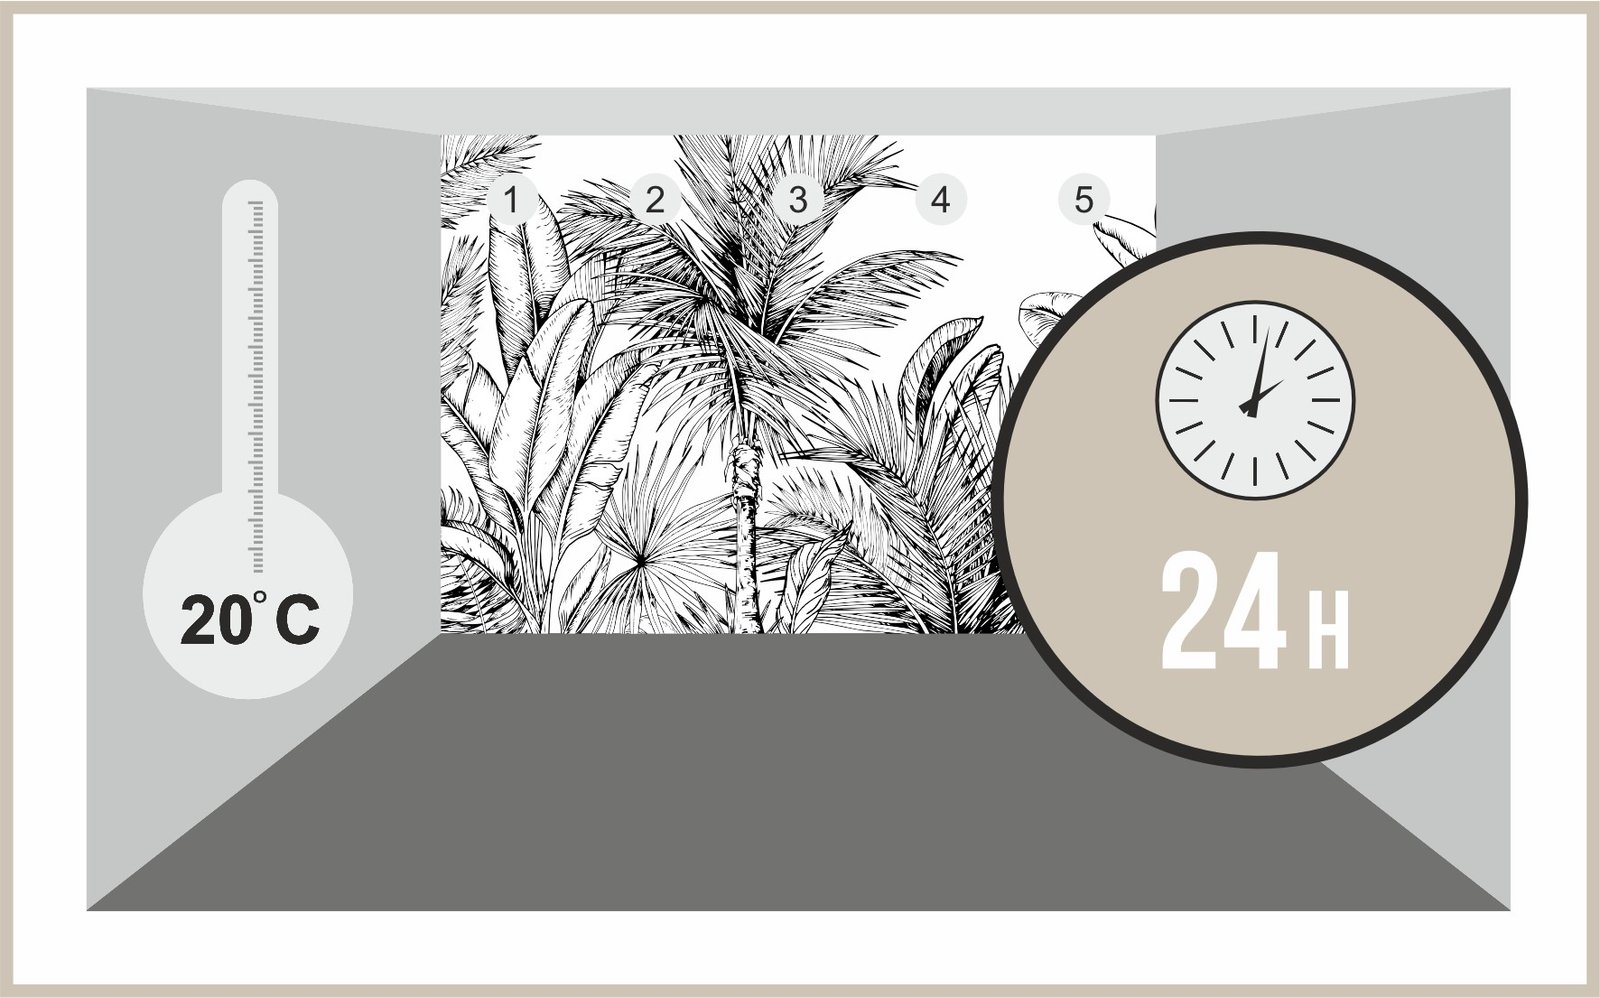
Lay out the panels on a clean floor or table to ensure the patterns align. Make sure no panels are missing and that the wallpaper is free from defects or damage. The panels are numbered at the top to make installation easier. We recommend starting from the center and working outward to ensure even trimming of the edge panels.
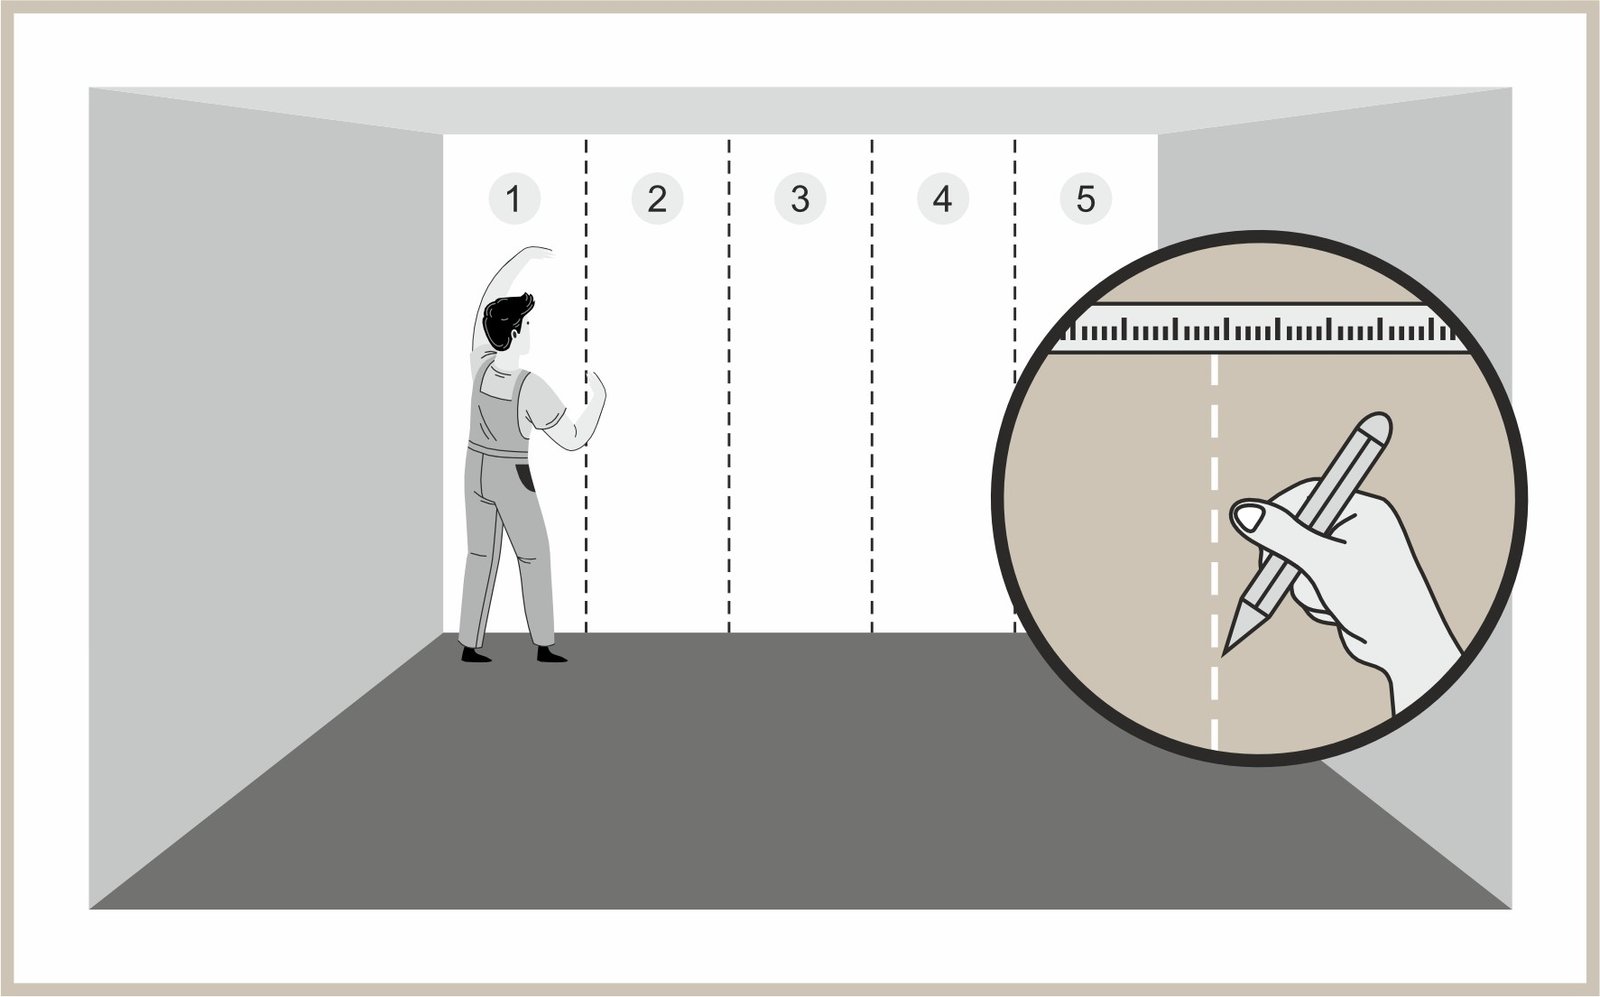
3. Measure and plan placement
Accurate measurements are key to a flawless installation. Use a measuring tape, pencil, and plumb line to divide the wall into the widths of the individual panels and lightly mark vertical lines.
4. Apply adhesive directly to the wall
The advantage of non-woven wallpapers is that the adhesive can be applied directly to the wall. Use a roller to apply the prepared adhesive evenly to the marked section of the wall where you will begin.
5. Applying the wallpaper
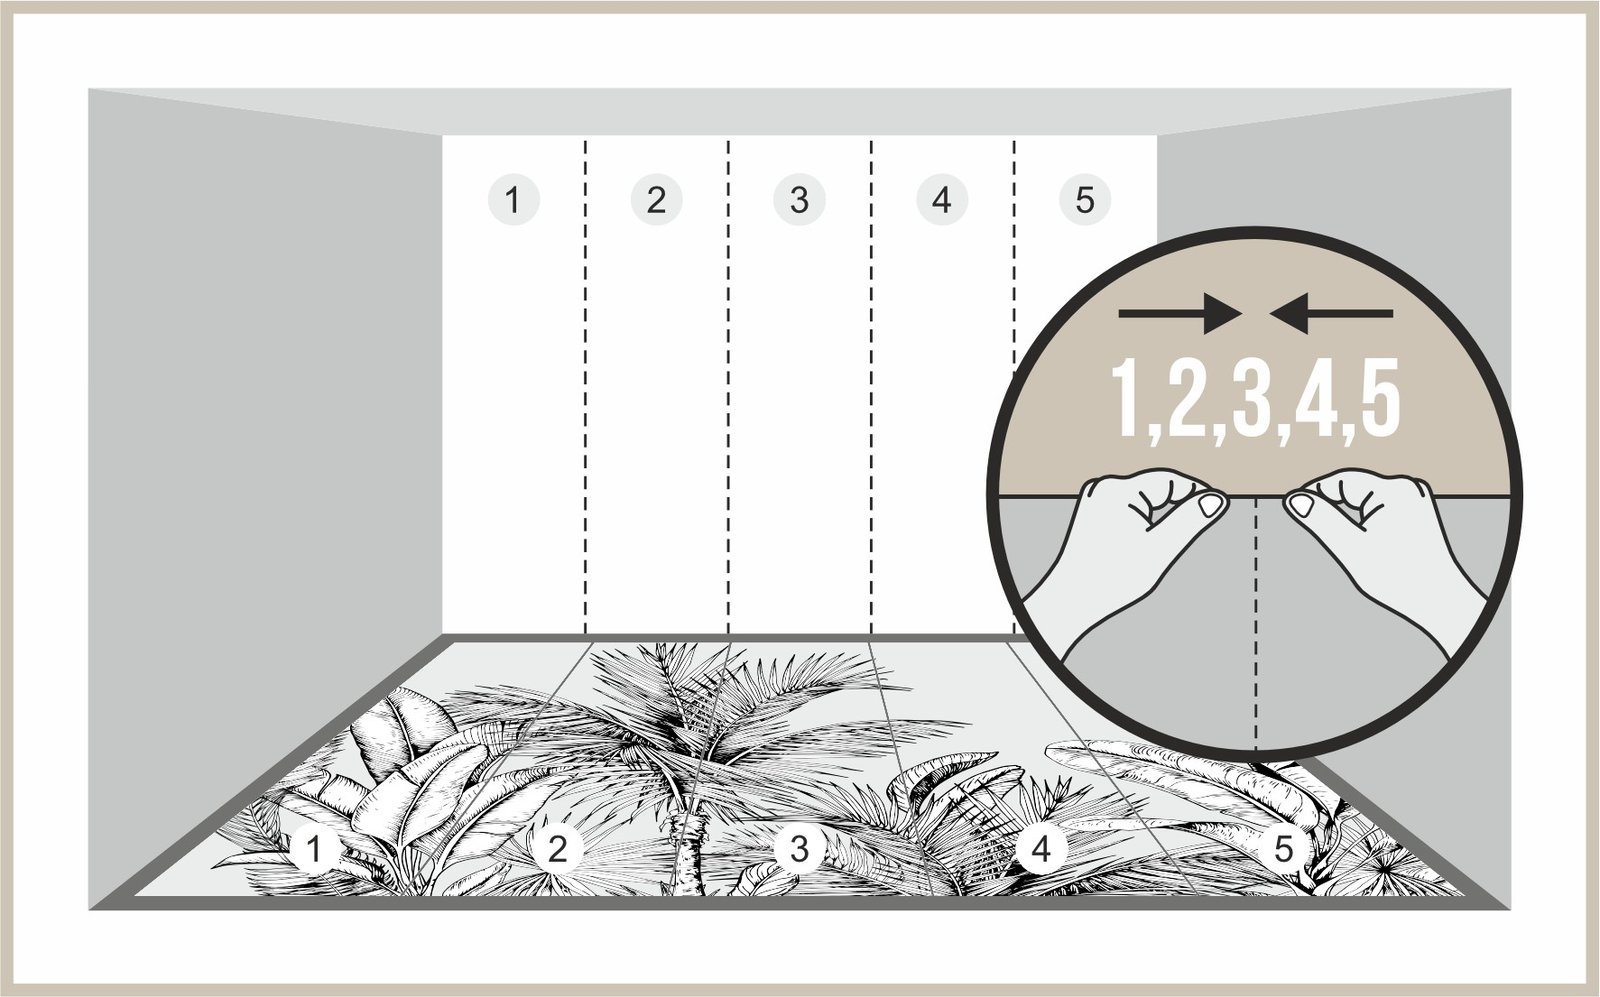
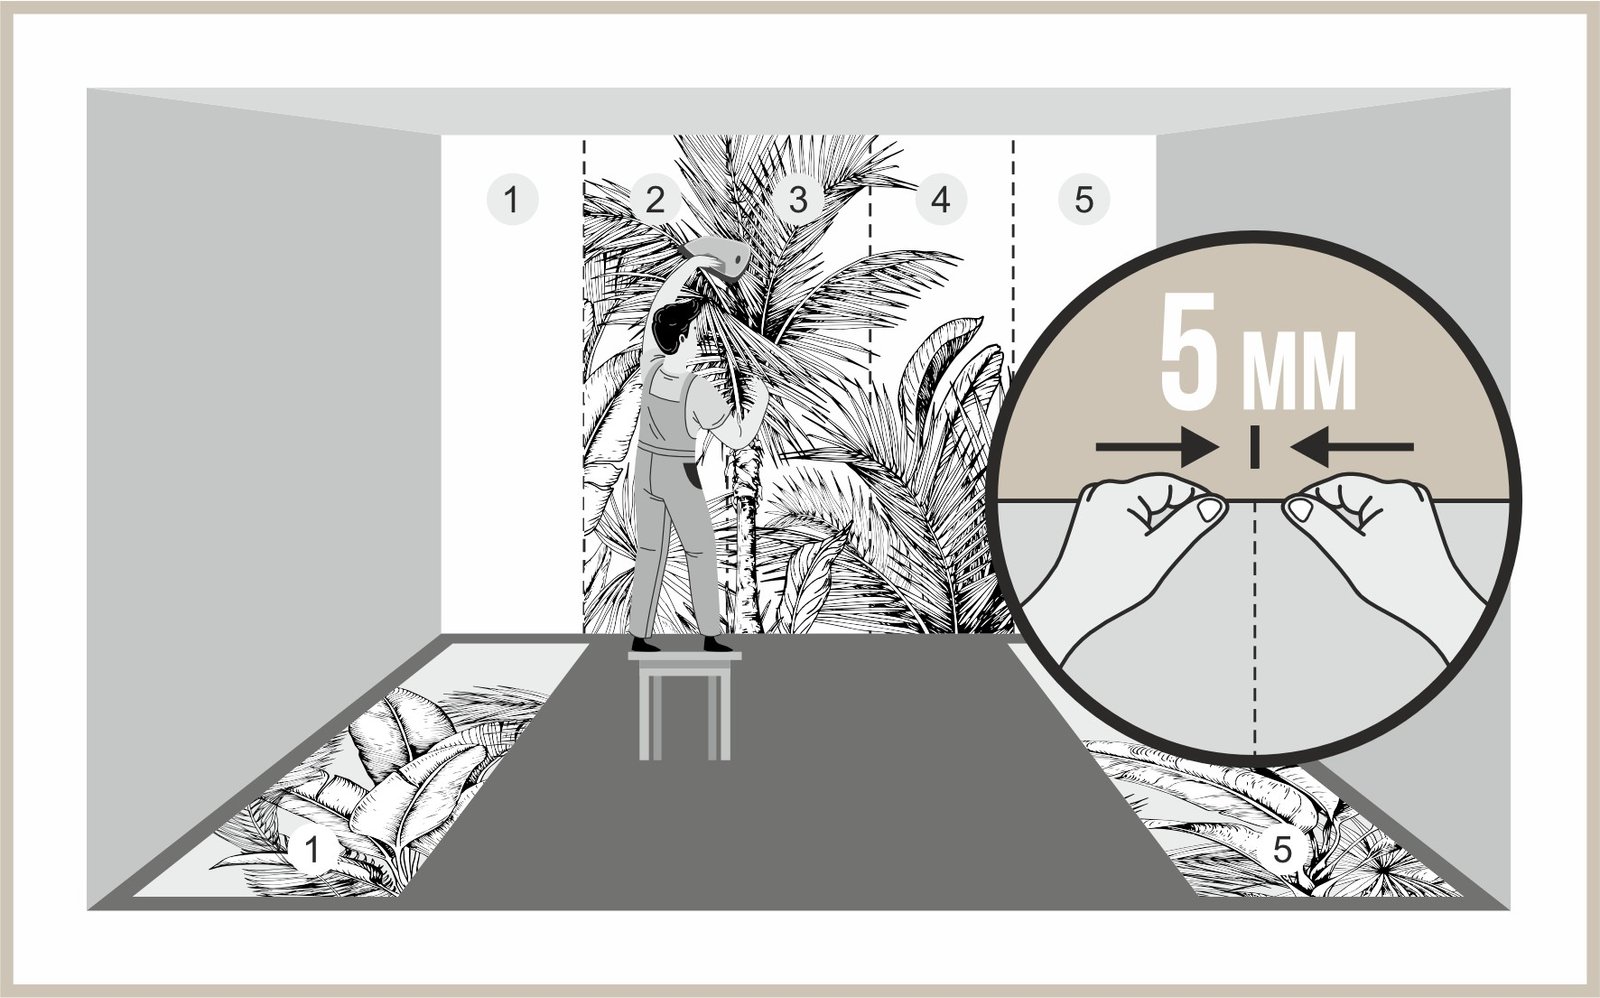
Place the first panel onto the wall at the prepared position where the adhesive has been applied. Carefully press the panel from top to bottom, smoothing it from the center outward using a brush or roller. If a section is misaligned, carefully remove it and reapply it immediately. Continue applying the remaining panels edge-to-edge without overlapping. Make sure each panel aligns correctly with the previous one. After applying all panels, gently wipe off any excess adhesive from the front of the wallpaper using a slightly damp cloth. Once the wallpaper has dried, you can trim the edges with a utility knife if necessary.
5-2. Applying self-adhesive wallpaper
For self-adhesive wallpaper, the process is similar. First, peel off a small section of the backing and apply the first panel to the designated area. Slowly press the panel from top to bottom while gradually peeling away the backing. Continue with the next panels, ensuring they align edge-to-edge without overlapping.
6. Drying
Tips for a Successful Wallpaper Installation
Tips for successful wallpaper installation
For large wallpaper installations, work in pairs to make the process smoother and more enjoyable.
Take your time aligning the edges to achieve a seamless look.
When using self-adhesive wallpaper, avoid stretching the material to prevent pattern distortion.
For high-humidity areas, choose traditional wallpaper for better adhesion.
We wish you a successful and fun wallpaper installation!
Subscribe to our newsletter and get the latest updates on events and news.